
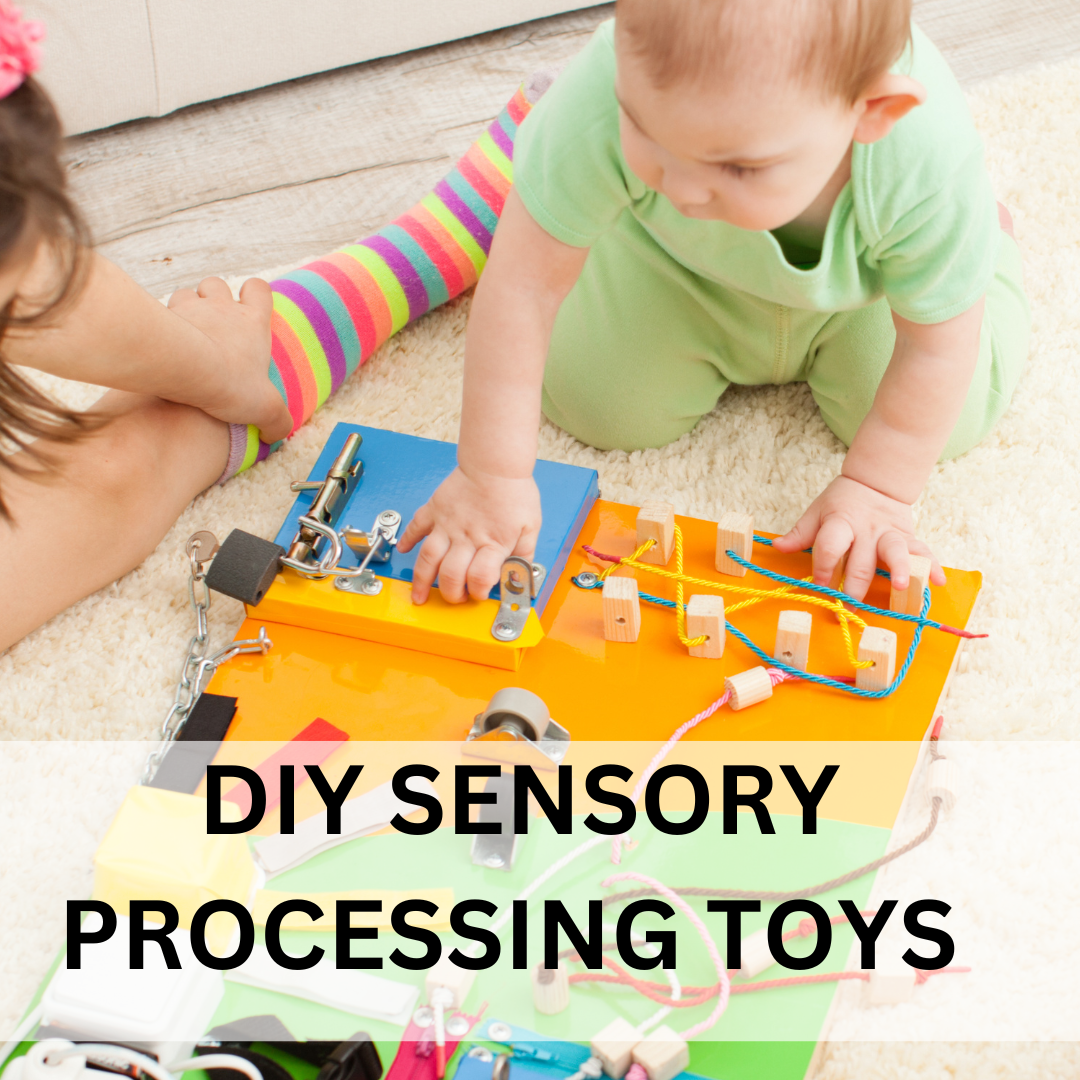
Are you looking for easy DIY sensory processing toys? If so, well you are in the right place. Let’s dive into the creative world of DIY sensory processing toys that you can make at home for your child that will help them calm their bodies and improve their regulation.
In this blog post, we’ll delve into the top 10 DIY sensory processing toys that you can make at home for their children with sensory processing difficulties.
From sensory bottles and texture boards to sensory swings and storytelling kits, each toy offers a wealth of benefits for promoting sensory integration, relaxation, cognitive engagement, and emotional well-being.
Hi! My name is Marra and I’m a mama and a pediatric occupational therapist who has years of experience working with children with different developmental needs and helping their parents navigate the ups and downs of child development.
I loved being a support person for parents learning about different sensory needs, sensory processing, and their child’s individual needs.
I would often recommend to families toys or sensory equipment to help improve their child’s sensory processing and developmental skills. I’d like to share the most common DIY sensory processing toys recommendations with you.
This post is all about the top easy DIY sensory processing toys that yo can create at home to help your child calm their body and improve their sensory regulation
The benefits of dIY SEnsory Processing Toys
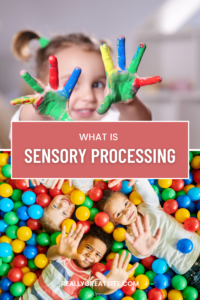
For children with sensory processing difficulties, navigating the world can be a complex and overwhelming experience. Sensory processing refers to how our brains interpret and respond to sensory information from the environment, including touch, sight, sound, taste, and smell.
Children who struggle with sensory processing may experience challenges in regulating their responses to sensory stimuli, leading to difficulties in attention, behavior, and emotional regulation.
As occupational therapists and caregivers, we understand the profound impact that sensory experiences have on a child’s development and well-being.
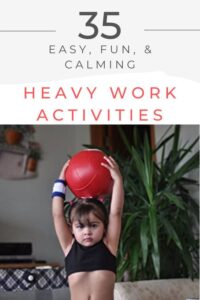
Sensory play is not just about fun and games; it plays a crucial role in supporting children’s sensory integration, cognitive development, emotional regulation, and social skills.
One of the most effective ways to provide meaningful sensory experiences for children is through sensory toys.
These DIY sensory processing toys are specifically designed to engage and stimulate the senses, helping children explore and process sensory information in a controlled and enjoyable manner.
However, the cost of commercial sensory toys can be prohibitive for many families, leading us to explore the world of DIY sensory processing toys. DIY sensory processing toys offer a budget-friendly and personalized approach to sensory play.
By using simple materials found at home or easily accessible in stores, parents and caregivers can create a wide range of sensory experiences tailored to their child’s unique needs and preferences.
These DIY sensory processing toys not only promote sensory development but also encourage creativity, problem-solving skills, and parent-child bonding.
Join us on this journey of exploration and creativity as we unlock the power of DIY sensory processing toys to support and enhance the lives of children with sensory processing challenges.
Let’s dive in and discover the joy and therapeutic benefits of sensory play right in the comfort of our homes.
THE TOP 10 DIY Sensory Processing Toys
Sensory Bottles: Captivating Visual and Auditory Stimulation
Sensory bottles are not just visually appealing but also provide calming auditory stimulation. They work wonders for children who need help focusing or calming down.
To make a sensory bottle, start with a clear plastic bottle, ensuring it’s sturdy and leak-proof. Fill it with water, leaving some space at the top to allow for movement.
Next, add items like glitter, sequins, beads, or small toys. These items should be lightweight and float easily in water. You can also experiment with different colors by adding a few drops of food coloring.
Seal the bottle tightly using hot glue or strong adhesive to prevent leaks and secure the lid. Shake the bottle gently to see how the items move and interact within the water.
This visual and auditory display can be mesmerizing for children, promoting a sense of calmness and focus. Encourage your child to shake the bottle gently whenever they feel overwhelmed or anxious, using it as a self-soothing tool.
Texture Boards: Enhancing Tactile Sensitivity and Discrimination Skills
Texture boards are fantastic DIY sensory processing toys for providing tactile stimulation and improving tactile sensitivity and discrimination skills. Create a texture board using a sturdy piece of cardboard or wood panel.
Gather a variety of textured materials such as sandpaper (varying grits for different sensations), faux fur, bubble wrap, velvet fabric, rubber, and anything else you can think of.
Secure each textured material onto the board using strong glue or staples, ensuring they are firmly attached and won’t come loose during exploration.
Label each texture with descriptive words like “rough,” “soft,” “bumpy,” or “smooth” to encourage language development as well.
During playtime, invite your child to touch and explore each texture on the board. Encourage them to describe how each texture feels, fostering vocabulary development and sensory awareness.
This activity can be especially beneficial for children who struggle with sensory processing by gradually exposing them to different tactile sensations in a controlled and engaging manner.
Sensory Play Dough: Versatile and Therapeutic Sensory Tool
Homemade playdough is a versatile sensory tool that offers a wide range of tactile experiences.
To make sensory playdough, combine 2 cups of all-purpose flour, 1 cup of salt, 2 tablespoons of cream of tartar, 2 tablespoons of vegetable oil, and 1.5 to 2 cups of boiling water.
Mix the ingredients until a smooth dough forms. You can also add food coloring for vibrant hues and scents like vanilla or peppermint extract for olfactory stimulation.
Once the playdough is ready, encourage your child to knead, stretch, and shape it using their hands and fingers.
Provide various tools such as cookie cutters, rolling pins, and plastic knives for added sensory input and fine motor skill development. You can also hide small objects like beads or buttons within the playdough for a tactile treasure hunt.
Sensory playdough engages multiple senses simultaneously, including touch, sight, and smell. It promotes hand-eye coordination, finger strength, and creativity.
Encourage your child to explore different textures by adding elements like sand for a gritty feel or glitter for a sparkling touch. Store the playdough in airtight containers to keep it fresh for multiple play sessions.
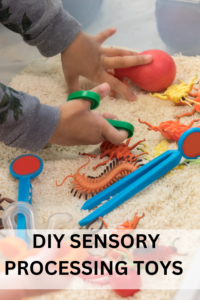
Sensory Bin: Customizable Tactile Exploration
A sensory bin is a versatile tool that provides endless opportunities for tactile exploration. Start by selecting a large container or bin with high sides to contain the sensory materials.
Fill the bin with a base material such as rice, dried beans, kinetic sand, shredded paper, or sensory beads. These materials offer different textures and can be soothing or stimulating based on your child’s preferences.
Next, add sensory objects or toys to the bin, such as small figurines, scoops, cups, sieves, and brushes. These items encourage hands-on exploration and imaginative play.
Consider incorporating thematic elements like miniature animals for a safari-themed bin or seashells for an ocean-themed bin to enhance engagement.
Encourage your child to dive into the sensory bin, using their hands to scoop, pour, and sift through the materials. This activity promotes sensory integration, fine motor skills, and imaginative play.
As your child explores the bin, observe their reactions to different textures and adjust the contents accordingly to meet their sensory needs and interests.
Calming Sensory Jar: Promoting Mindfulness and Relaxation
A calming sensory jar is a soothing tool that helps children regulate their emotions and promote mindfulness.
To create a calming sensory jar, you’ll need a clear jar or bottle with a tight-sealing lid. Fill the jar with water, leaving some space at the top. Add a few drops of glycerin or clear glue to slow down the movement of the contents.
Next, sprinkle in glitter, sequins, or small beads in calming colors such as blues, greens, or purples. These colors are often associated with relaxation and tranquility.
Seal the jar tightly and shake it gently to distribute the glitter evenly. The swirling glitter creates a mesmerizing visual display that can help children calm their minds and focus.
Introduce the calming sensory jar as a mindfulness tool during quiet times or before bedtime. Encourage your child to watch the glitter settle slowly, taking deep breaths and focusing on the calming motion. This activity promotes self-regulation, relaxation techniques, and emotional awareness.

Sensory Wall: Comprehensive Sensory Exploration
A sensory wall is a larger-scale sensory experience that engages multiple senses simultaneously. Create a sensory wall panel using a sturdy board or wall space.
Incorporate a variety of sensory elements such as textured fabrics (e.g., faux fur, satin, burlap), tactile surfaces (e.g., sandpaper, rubbery knobs), visual stimuli (e.g., mirrors, colorful shapes), and interactive components (e.g., bells, Velcro strips).
Arrange the sensory elements on the wall at varying heights to accommodate children of different ages and abilities. Secure the items firmly to the panel to ensure safety and durability. Label each sensory element with descriptive words to encourage language development and sensory exploration.
Invite your child to interact with the sensory wall by touching, feeling, looking, and listening to the different elements. Encourage them to explore textures, make sounds, and engage in imaginative play.
The sensory wall provides a comprehensive sensory experience that promotes sensory integration, fine motor skills, and cognitive development.
Sensory Swing: Providing Vestibular Input and Relaxation
A sensory swing is a fantastic tool for providing vestibular input and promoting relaxation. To create a sensory swing, you’ll need a sturdy fabric like canvas or denim for the swing seat. Cut the fabric into a rectangular shape and reinforce the edges with stitching to prevent fraying.
Next, attach the swing seat to a sturdy ceiling hook or outdoor swing frame using strong ropes or chains. Ensure that the swing is securely fastened and can support your child’s weight. Add cushions or blankets to the swing seat for comfort and sensory feedback during swinging.
The swinging motion provides calming vestibular input, which can help children regulate their sensory systems and improve focus.
Encourage your child to swing gently while enjoying the sensation of movement. The sensory swing can serve as a peaceful retreat for relaxation or a fun activity for sensory stimulation.
Sensory Path: Encouraging Movement and Sensory Exploration
A sensory path is a series of sensory stations designed to encourage movement and sensory exploration. Create a sensory path indoors or outdoors using various sensory materials and activities. Some ideas for sensory path stations include:
- Stepping Stones: Arrange flat stones or foam stepping pads on the floor for balancing and stepping activities.
- Balance Beam: Create a narrow balance beam using a sturdy wooden plank or beam placed slightly above the ground.
- Sensory Bins: Set up sensory bins filled with materials like rice, sand, water beads, or textured fabrics for tactile exploration.
- Tactile Wall: Install a tactile wall with different textures such as textured tiles, rubbery surfaces, and fabric panels for tactile stimulation.
- Sound Station: Include instruments like chimes, drums, or xylophones for auditory stimulation and musical exploration.
Encourage your child to move through the sensory path, engaging in each station and exploring the sensory materials. The sensory path promotes gross motor skills, balance, coordination, sensory integration, and cognitive engagement.
Sensory Storytelling Kit: Combining Sensory Experiences with Narrative
A sensory storytelling kit combines sensory experiences with storytelling, creating a multisensory learning and engagement opportunity. Gather materials related to a favorite story or theme, such as:
- Textured fabrics (e.g., fur, satin, felt) representing different story elements or characters.
- Scented playdough or scented items related to the story setting (e.g., ocean-scented for a sea adventure).
- Sound-making objects like bells, rattles, or musical instruments to enhance storytelling.
- Visual props such as puppets, figurines, or pictures to illustrate key story scenes.
As you read or tell the story, invite your child to interact with the sensory elements in the kit. Encourage them to touch, smell, listen, and observe, enhancing their sensory awareness and comprehension of the narrative.
This multisensory approach fosters creativity, language development, and sensory integration.
Sensory Bottles (Revisited): Engaging Visual and Auditory Stimulation
Sensory bottles, as mentioned earlier, provide captivating visual and auditory stimulation. In addition to glitter and beads, consider incorporating additional sensory elements into the bottles:
- Glow-in-the-dark elements for visual fascination in low-light settings.
- Floating letters or numbers for educational and cognitive engagement.
- Scented oils or extracts for olfactory stimulation and aromatherapy benefits.
- Colored water layers to create a rainbow effect for visual tracking and color recognition.
Customize the sensory bottles based on your child’s interests and sensory preferences. These bottles can serve as portable sensory tools for calming, focus enhancement, and sensory exploration on the go.
By incorporating these DIY sensory processing toys into your child’s daily routines, you can create a supportive environment for sensory development, relaxation, and engagement.
Each sensory activity offers unique benefits and can be tailored to meet your child’s specific sensory needs and interests.